How to Use Thrift Store Plates to Create a Simple Apothecary Jar Craft


Y’all I am ALWAYS looking for ways to decorate my cottage on a budget. Whether it’s shopping for décor at thrift stores, repurposing/reusing items I find in my home, OR creating new and unexpected pieces, it’s fun to push the envelope and see my creativity come to life!
Enter Fall 2020. We are living in such uncertain times and I didn’t want to spend a mint decorating my home. So my mind got to churning, and after seeing a similar piece come across my feed on Instagram, I thought I would give this DIY project a go and see how it turned out! The final product ended up being super cute and it was REALLY easy to create! Truly, anyone can do it.
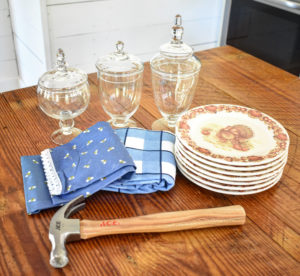
Here’s what you’ll need: hammer, seasonal thrift store plates (these were .49 cents each at Goodwill), 2 towels and any clear type of jars. (I shopped my own home to find these apothecary jars stored away at the back of a cabinet.)
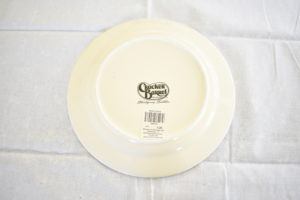
First, lay out one of the towels on a hard surface. (Pictured here is my kitchen island and my top is barnwood. DO NOT attempt this on a regular countertop surface. Rather, take outside on the pavement or ground if possible.)
Place one plate face down on the towel. Then, cover the backside of the plate with another towel.
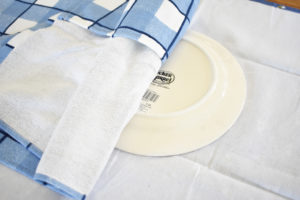
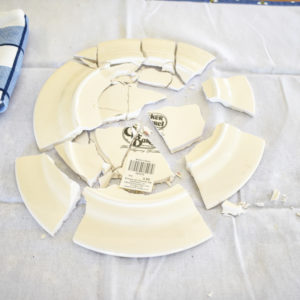
Next, take your hammer and gently, but firmly, tap the towel, making contact with the plate, breaking it into many small pieces.
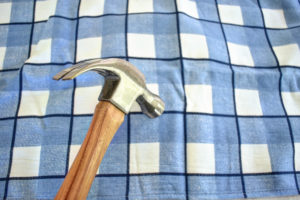
When you lift up the towel, your plate should look something like this. Note you may have to “hammer” some of the larger pieces once more to break them into smaller segments. (For example, below, some of these pieces are too large for my jars and I had to tap them a few more times, breaking them down further.)
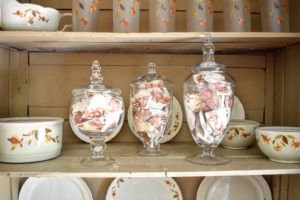
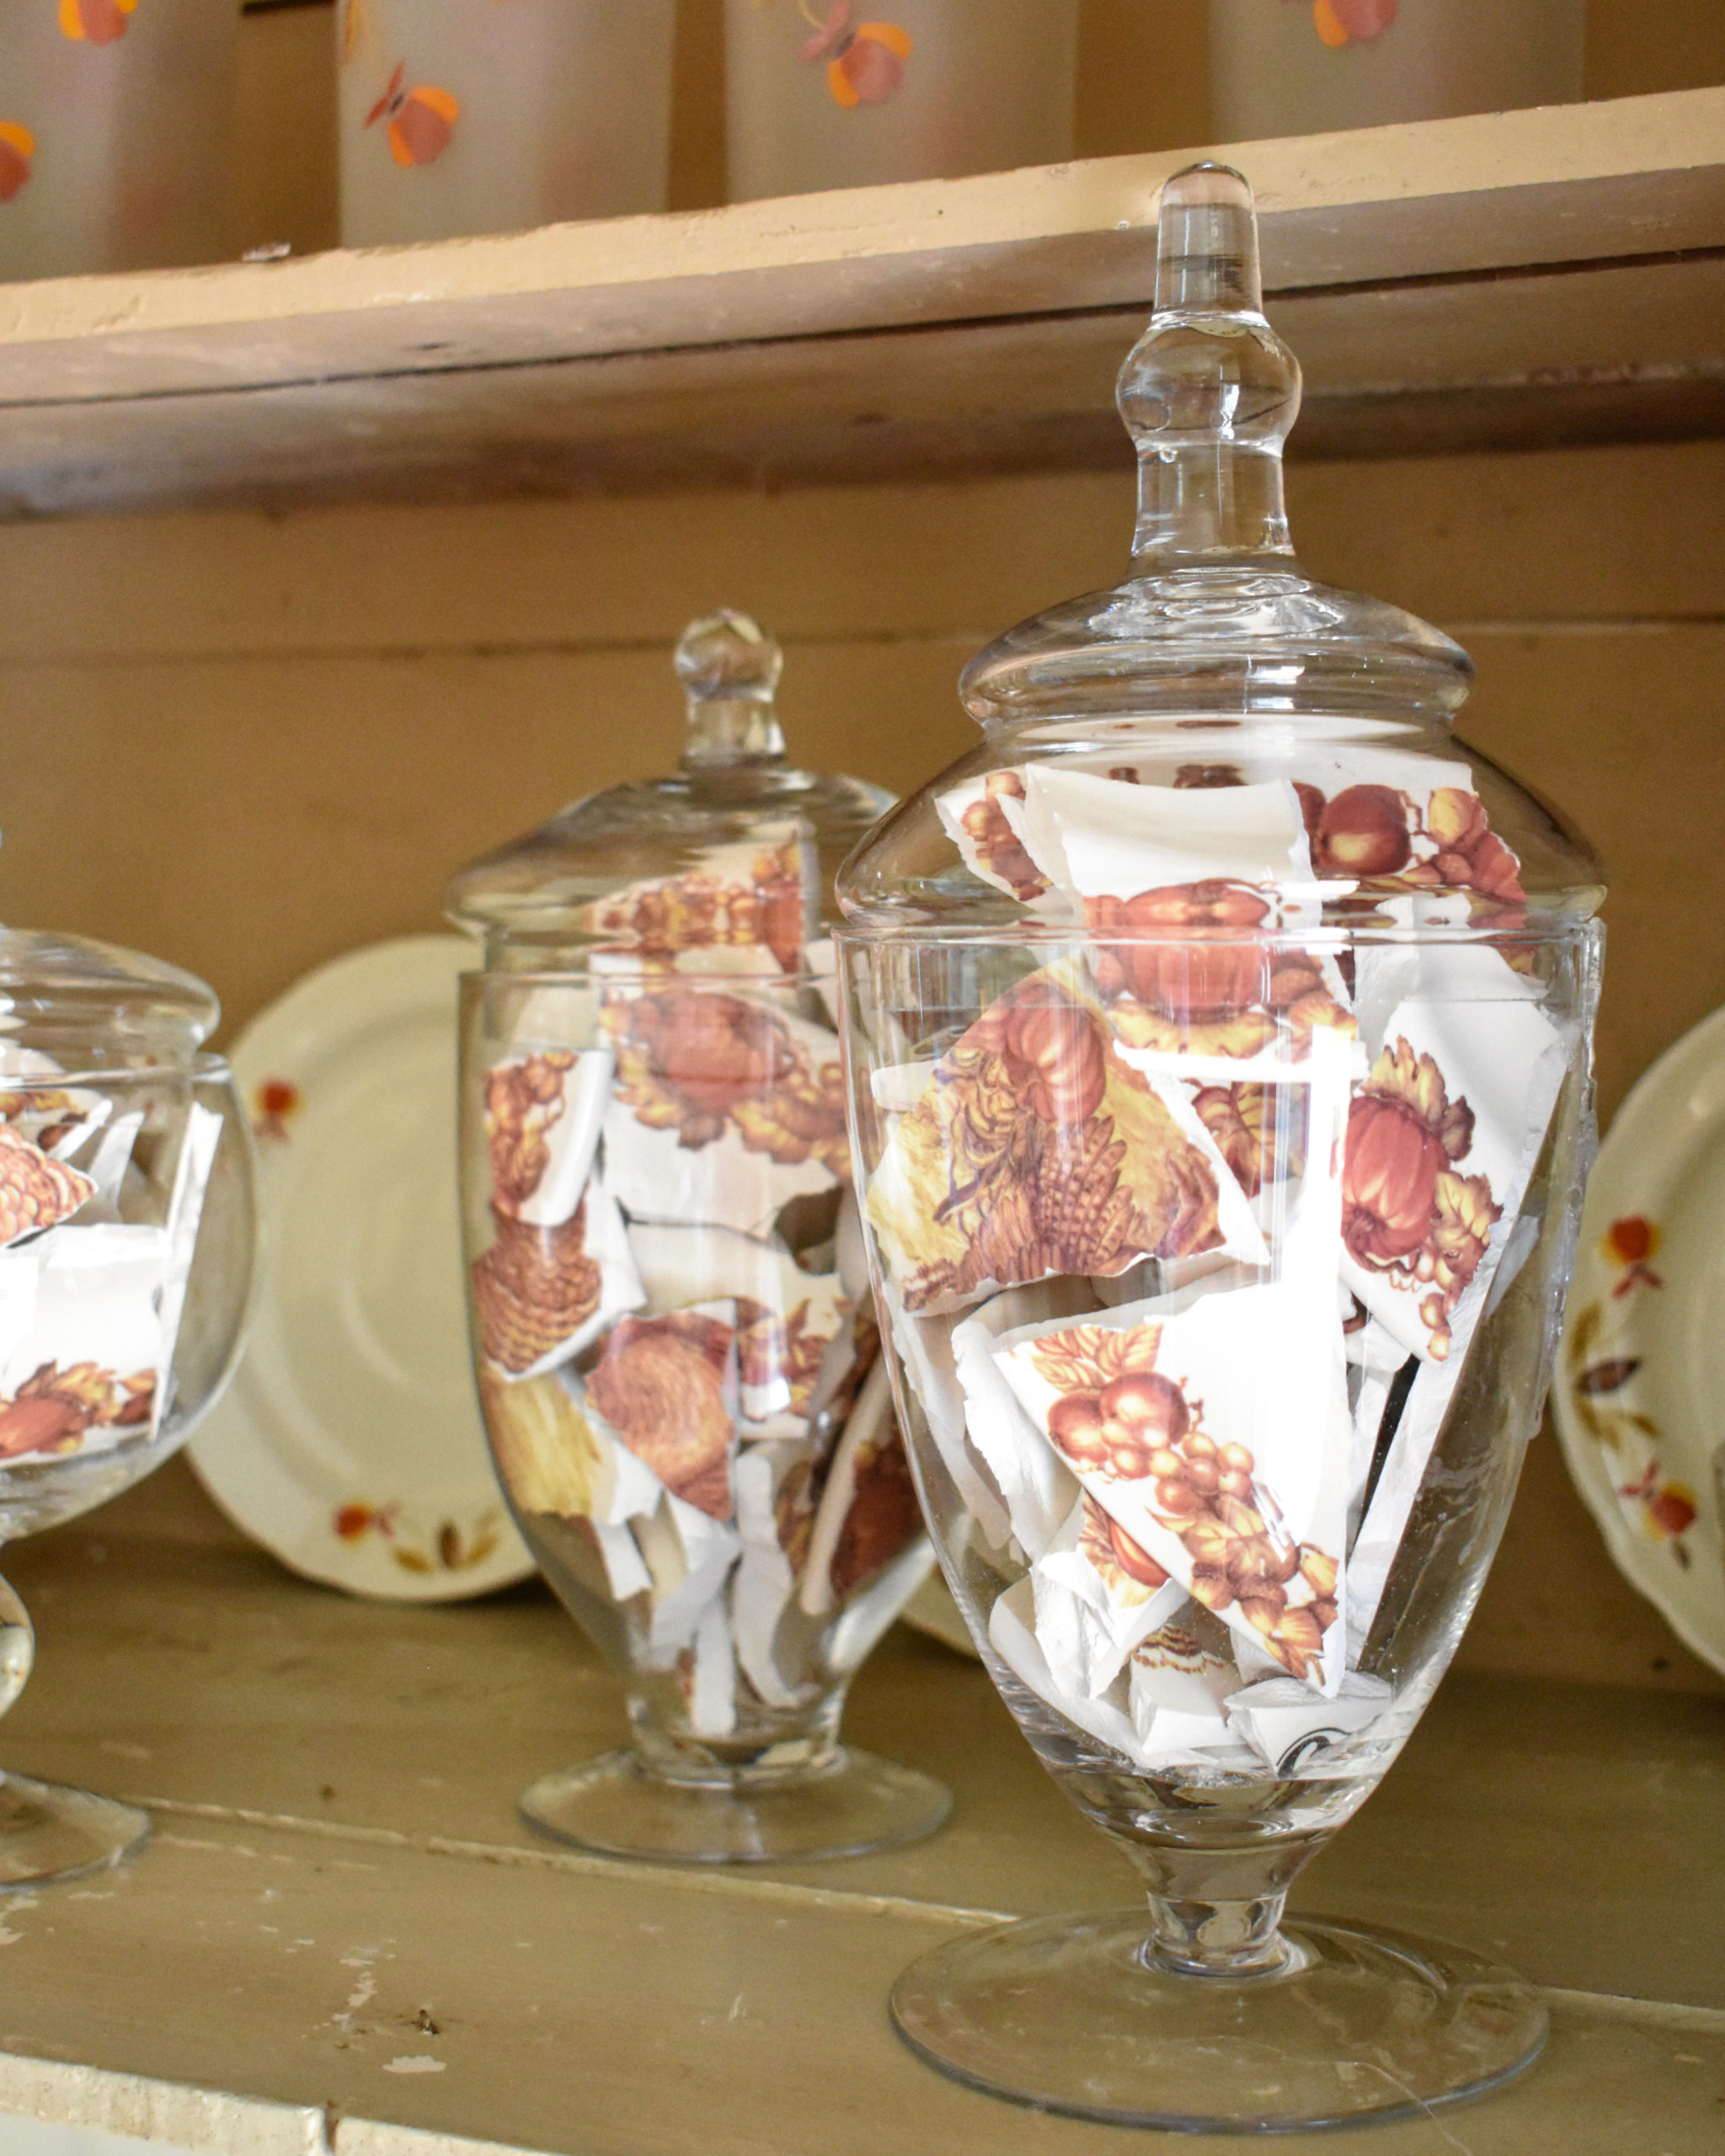
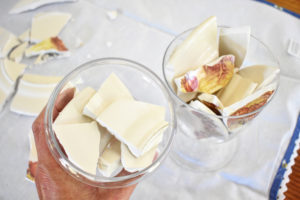
Now it’s time to place the broken plate inside the jars. Carefully position the pieces with the colorful side of the shards facing outward toward the glass. To hold the shards in place, you’ll want to position some of the less colorful pieces in the center to steady the outward facing shards.
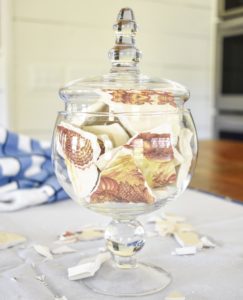
Be sure to leave room at the top of your jar to replace the lid securely.
Lastly, simply repeat the steps above with any remaining plates until you have the pieces needed to fill your remaining jars.
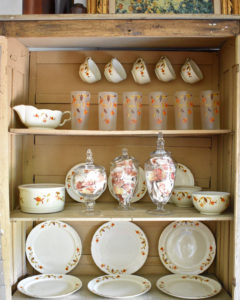
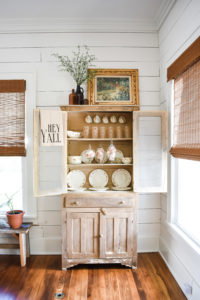
At the end of your project, you will have a unique and simple display that’s sure to capture the eye of your family and guests and spark creativity in others! And the best part is you can repeat this process seasonally, because cheap or free plates can always be found at garage sales, thrift stores or even on the side of the road! Enjoy!